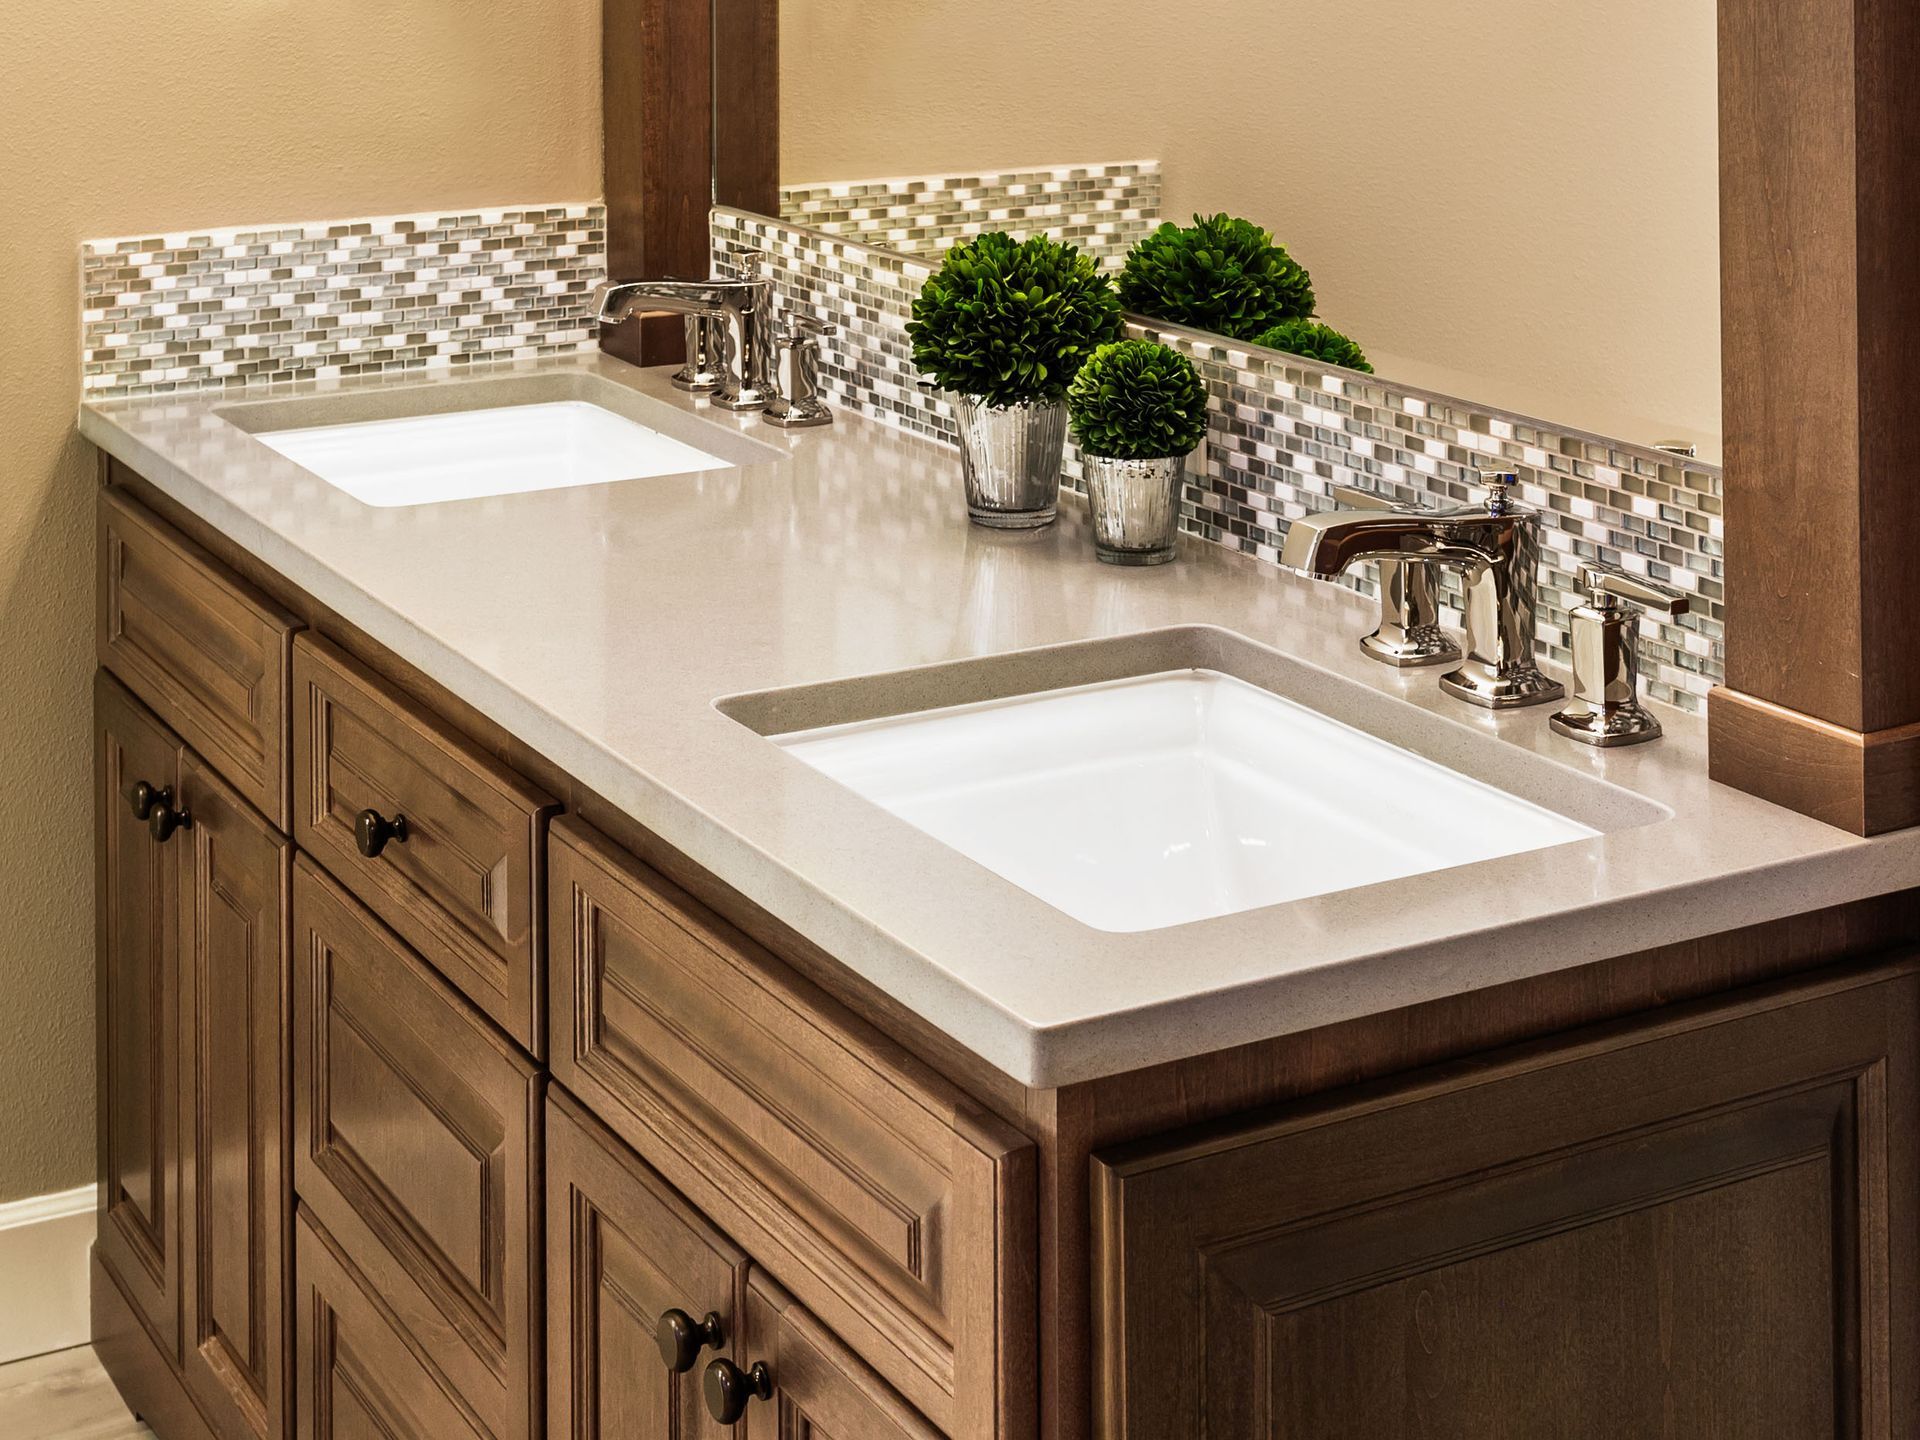
Granite Countertop Installation Process
Granite is a popular choice for kitchen and bathroom countertops because it is durable, easy to clean, and adds a touch of luxury to any space. However, the installation process can seem daunting to those who are unfamiliar with it. In this article, we will guide you through the granite countertop installation process.
Step 1: Choosing the Right Granite
The first step in the installation process is choosing the right granite for your space. There are many different colors and patterns to choose from, so it is important to take your time and consider your options carefully. When selecting granite, consider the following factors:
- The color and pattern of your cabinets
- The color and pattern of your backsplash
- The overall style of your space
Once you have chosen your granite, it is important to measure your space carefully to ensure that you order the correct amount.
Step 2: Preparing Your Space
Before the installation process can begin, your space must be prepared. This includes removing any old countertops, disconnecting plumbing and electrical appliances, and making any necessary repairs to the cabinets or walls.
Step 3: Templating
After your space has been prepared, the next step is templating. The templating process involves creating a template of your countertop space in order to ensure that your new granite fits perfectly. This process typically takes a few hours and involves creating a precise template using a special tool.
Step 4: Fabrication
Once the template has been created, it is used to fabricate your new granite countertop. This process involves cutting and shaping the granite to fit your space exactly. The fabrication process typically takes a few days and is done off-site.
Step 5: Installation
The final step in the granite countertop installation process is the actual installation. This typically takes a few hours and involves the following steps:
- Preparing the cabinets and walls for the installation
- Laying out the granite on top of the cabinets to ensure a perfect fit
- Applying a sealant to the granite to protect it from stains and damage
- Securing the granite to the cabinets using silicone caulk
- Reconnecting any plumbing or electrical appliances
The granite countertop installation process can seem overwhelming, but it is actually a straightforward process that can be completed in just a few days. By following these steps, you can ensure that your new granite countertop is installed correctly and will last for years to come.


Share On: